Hello Shooters,
Here are some tips on using your D&L revolver optic mount:
SAFETY FIRST!
Remove all ammunition from your revolver and your entire work area. Double check that your revolver is completely empty.
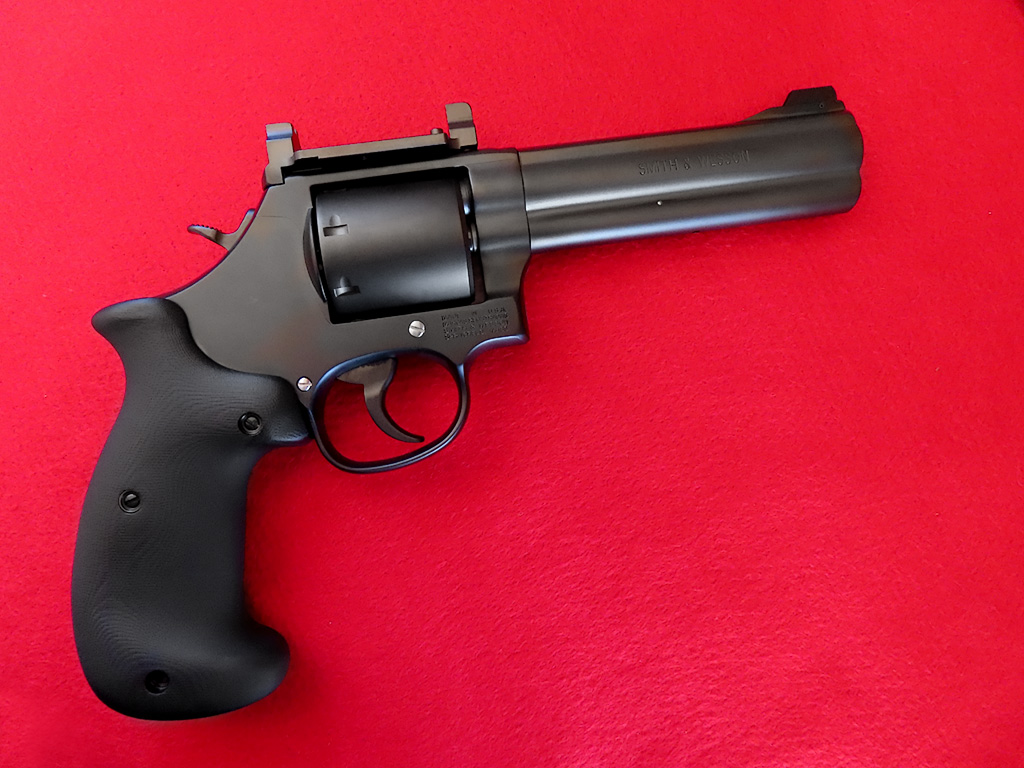
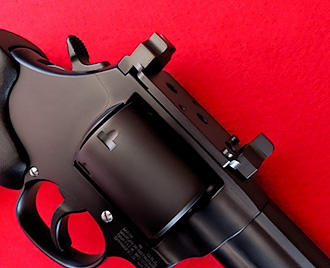
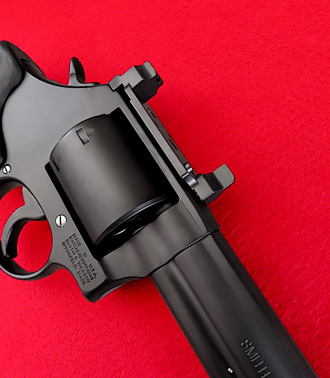
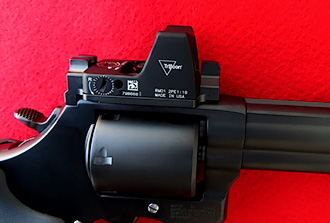
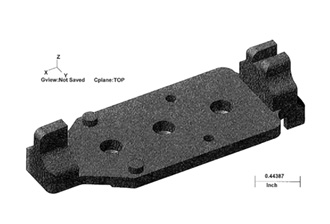
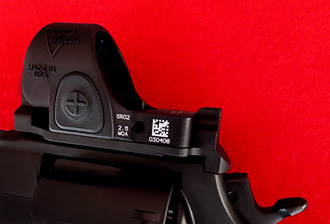
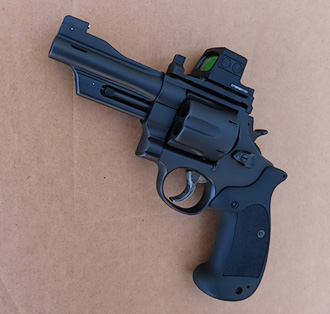
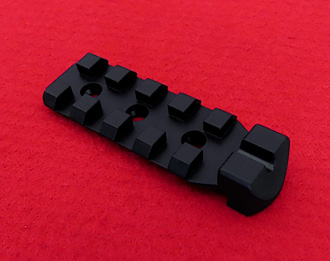
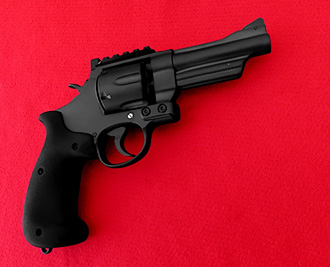
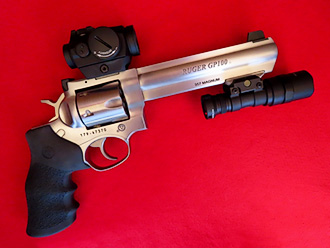
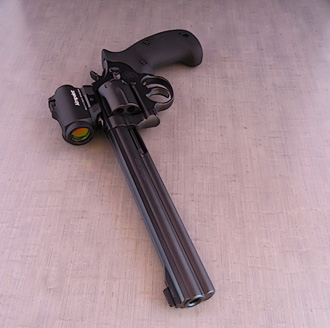
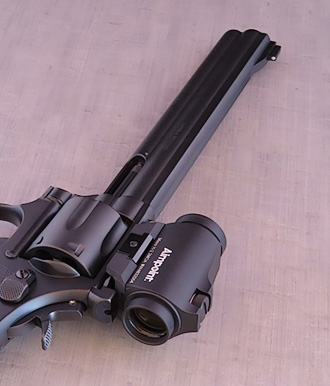
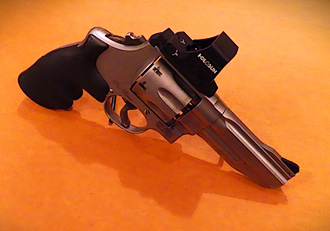
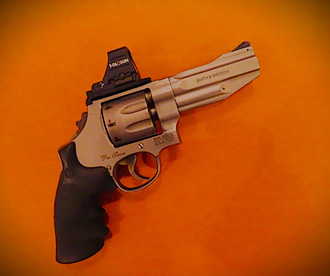
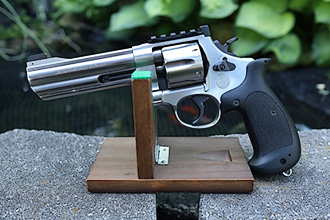
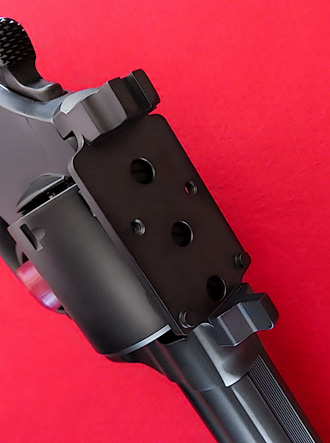
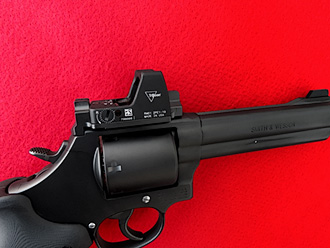
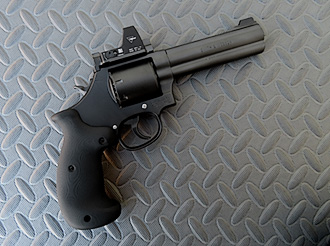
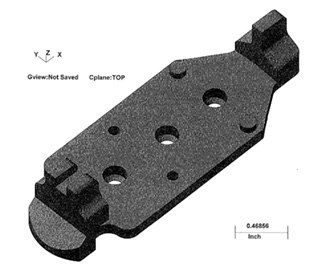
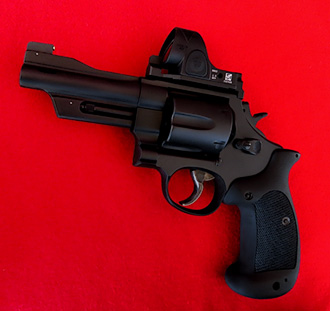
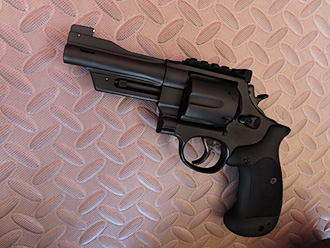
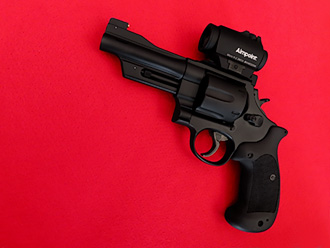
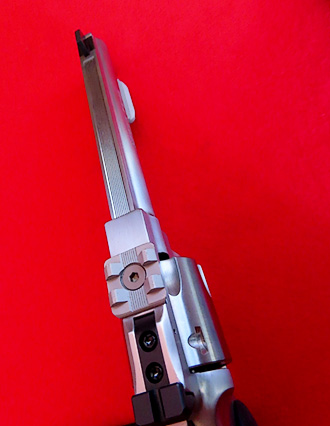
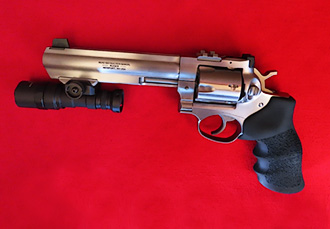
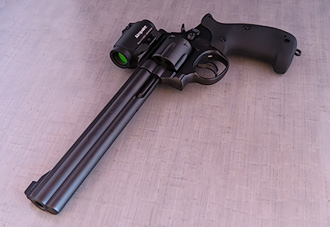
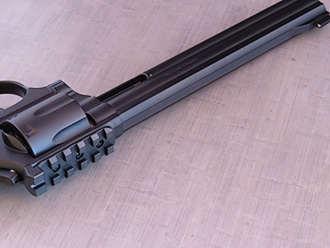
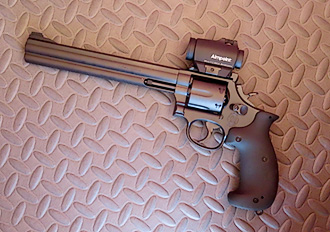
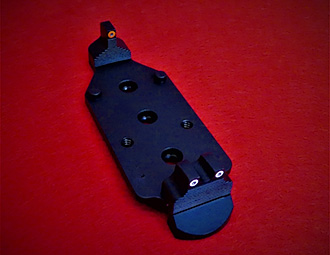
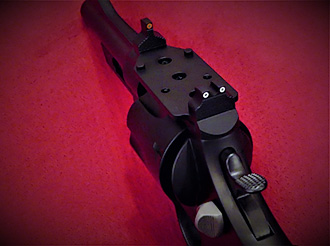
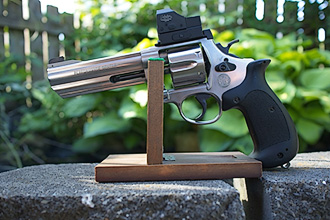
There are two styles of D&L revolver optic mounts. Both are machined from a single block of steel for ultra durability. Both styles slide into the top strap of K, L, N, X frame S&W revolvers with adjustable sights and a three hole screw pattern already drilled by the factory. (Older revolvers will need the three hole screw pattern drilled and tapped into place.) One style of D&L mount is for red dot optics with the RMR / SRO footprints. This mount has integral iron sights which can co-witness through the RMR / SRO windows. The other style for D&L mount is a more conventional heavy duty rear D&L sight, but with an integral picatinny rail machined as part of the sight tang. This style of optic mount is best suited to red dot sights, such as the Aimpoint Micro, or other optics that attach to a picatinny base. The rear iron sight on this mount uses a front revolver sight mounted at the front end of the barrel. This mount does not co-witness the iron and optic sights, but the optic can quick detach and the rear iron sight, which is an integral part of the mount, can then be used with your barrel mounted front sight. This allows for the longest possible sight radius.
The "Sight Pack" RMR/SRO Optic Mount:
The "Sight Pack" integrates both iron sights and optic sight in one compact, heavy duty package. To install: Remove the factory rear sight and use a clean soft toothbrush to remove any residue left behind on the top strap. Attempt to slide the optic mount into place. If it does not slide right in, put a drop of oil on the hold down lug on the underside of the mount, under the rear notch area. Try to press it into place with your fingers. If it is still too tight, hold the mount in proper alignment and tap the mount home with a small RUBBER dead blow hammer. If the mount does not fully seat, look for any areas of interference and dress them down with a small file. Work carefully and slowly until you can fully seat the mount into the revolver's top strap. Snuggly install the 3 torx head screws without loctite. Test the zero of the integral iron sights BEFORE mounting your red dot optic. Many people choose to zero the iron sights at 7 yards since they are emergency sights. Many people find that the iron sights are zeroed upon first installation. However, if the iron sights are not zeroed for your load, they can be machined into a precise zero. Shaving material from the top of the front sight will raise your point of impact on target. Shaving material from the top of the rear sight will lower your point of impact on target. Shaving material off the right side of the front sight will move the impact on target to the right. Shaving material off the left side of the front sight will move your point of impact on target to the left. CAUTION; .010" of material shaved off the sight can change your point of impact about 1" at 7 yards ! A tiny bit goes a long way. Get professional assistance as required. Once a proper zero is confirmed, the D&L integral sights allow for night inserts to be installed if you wish, with or without colored rings around the night inserts. (Return to DLS for this upgrade) Once the integral iron sights are set up to your liking, degrease all three torx screws, and the top strap, and secure the mount into place with loctite. Then, mount your red dot optic. You will be able to dial your dot close to zero by comparing the dot location with the properly zeroed iron sights. Then confirm your final zero at your preferred distance with live fire on a safe range.
PICATINNY RAIL OPTIC MOUNT:
Use the same procedure as above. However, zeroing your iron sights will vary based on your revolver's overall sight radius. Obtain professional advice as required.
Thank you, and good shooting!
DLS inc. www.DLSPORTS.com |
